Thursday, 30 June 2011

Photo Bookmark Tutorial


I thought I would try and write a tutorial for a photo book mark like the one I gave my friend last week. If anybody tries to make one, please let me know if the instructions were easy to follow or what I could do better next time. Or if you read through it and think that something is not clear to understand, give me a shout. Cheers!


You Will Need:

a large photo
some pretty paper
a cutting mat
craft knife
double sided tape
self-adhesive clear plastic foil
ribbon
a ruler
eylets
eyelet setter


First, cut your photo to the size and shape you want your bookmark to be. You can make it oval, round the edges, use a punch to make a decorative border, anything goes.


Then cut a piece of your pretty paper to a size slightly larger than the bookmark. This will become the back. If your edges are an uneven pattern, you might want to cut the photo and the paper the same size and at the same time, to achieve an even fit.


Run two strips of double sided tape down the back of your photo, one down each long side. Peel off the covering and attach the paper.


Trim the overhang.


Cut to pieces of self-adhesive clear plastic foil to a size slighlty larger than your bookmark.


Remove the backing and smooth the foil over the photo carefylly, from top to bottom. Do this slowly and press the foil down with your fingers bit by bit to avoid any creases or air bubbles.


Use the backing of the foil or a soft cloth to smooth down the foil after it is fully attached.


Repeat for the other side.


When both sides of the bookmark are covered with the foil, go around the edges and make sure the two layers of foil adhere properly to each other, pushing down with the tip of your finger.


Use the knife to trim the foil neatly all around the bookmark, leaving a slight overhang.


Use your eyelet tool to punch a hole and set the eyelet for the ribbon. You could also simply use a hole punch and omit the metal eyelet.


Attach the ribbon. Done.

Here's another bookmark that I made Marco for Christmas last year, using one of our wedding photos.


Photobucket

© All The Live Long Day (unless otherwise stated)

Wednesday, 29 June 2011

Three Kinds Of Jam


After ticking one item of my to-do list for this summer and visiting our local PYO Farm last Sunday morning, I spent the whole afternoon in the kitchen, topping and tailing fruit and making jam. 

I made three different kinds, and it was a bit of a learning curve. First was the strawberry jam, and I just followed the recipe that I found on the back of the jam sugar packet. The recipe suggested a ratio of 800g berries to 1kg sugar, but the resulting jam was far too sweet for my liking. You still got the strawberry taste shining through, but I decided I prefer my jam more tart.


So on to gooseberries I moved. For this, I used the same amount of sugar to berries, and also added a splash of elderflower cordial into the mix. The jam turned out okay, but set quite thickly and still tasted way to sugary. 

(During the making of this particular batch I also learned that you have to keep stirring, stirring, stirring constantly while your jam is boiling, otherwise you might end up with an unwanted, but not entirely unpleasant burnt caramel taste to it all....)


I think I finally got lucky with my third attempt, the blackcurrants. For this, I decided to be brave and cooked two parts of fruit with one part sugar. With an addition of star anise, which gave the jam an ever so subtle but interesting additional depth. 


It did not set as thickly as the other two, but it will still not run off my toast. And it has the full-on, slightly sour berry taste that I was hoping for. You can find the very simple recipe below.


(The jam labels in these pictures are courtesy of Free Pretty Things.)


Blackcurrant & Anise Jam
(makes about 4 medium jars)

Need To Have:

1kg blackcurrants
500g preserving sugar
1 star anise

Need To Do:

First, place a saucer or a small plate in your fridge. You will need this later to test if your jam is ready.

Add sugar and blackcurrants to a large saucepan. Tie the star anise up in a piece if cheesecloth and add to the fruit and sugar. 

Over a low heat, stir everything until the sugar has dissolved. Turn up the heat and bring to a rolling boil. Boil for about 10  minutes, stirring constantly. Then take the cold saucer out of the fridge and spoon a bit of jam onto it. Once the jam starts setting, slowly push your finger into it from the side. If the surface throws wrinkles, the jam is ready and should set in the jars. If not, you will need to cook it for a little longer. Test again after 5 more minutes or so. 

Once the jam is at the correct stage for setting, remove the star anise. Ladle the jam into sterilized jars and close the lids tightly. The jam should keep for months in a cool, dark place.

Photobucket

© All The Live Long Day (unless otherwise stated)


lollipops

Field Trip

Some more photos from the farm. Some were taken with Marco's phone, some with my camera.


Photobucket

© All The Live Long Day (unless otherwise stated)

Tuesday, 28 June 2011

Mirror & Music Or: Bangers & Mash


I love going to Sadler's Wells dance theatre in London. They book the most inspiring performers, and tickets are cheaper than a visit to the movies if you don't mind sitting up high under the rafters. I go and see a few shows during the Flamenco Festival every February, and because the theatre offers a 20% discount on tickets when you book for more than one show at a time, I always make sure to browse the calender of events for the rest of the year. This is how Marco and I ended up going to see the amazing Mirror And Music by Japanese dancer and choreographer Saburo Teshigawara a few days ago. 

Before the show, we had dinner at S&M (that's for Sausages & Mash, people!). They serve all kinds of classic British food that has a home-cooked vibe and huge comfort appeal. 

I went for the eponymous bangers & mash and chose the London Traditional and a vegetarian mushroom-and-tarragon variety from the pick'n'mix sausage menu. Eating this with copious amounts of gravy while sitting in the sun by the open diner window and drinking the bottle of wine that came in a special offer bundle made for two happy campers.


Thus fortified, we went on to take our seats at the theatre. I did not really know what to expect and was completely blown away by the talent of the 8 dancers. They performed ever so precisely and graciously in a surreal environment of shadow and light, white noise and classical music. I was emotionally touched by their dance and mesmerized by their movement. I could not describe what it was exactly that moved me about the performance, but I admired the sense of fluidity and fragility that I felt the piece conveyed. I felt like I was going through a series of dreams. Here is a short video excerpt of the show: 


Photobucket

© All The Live Long Day (unless otherwise stated)

Monday, 27 June 2011

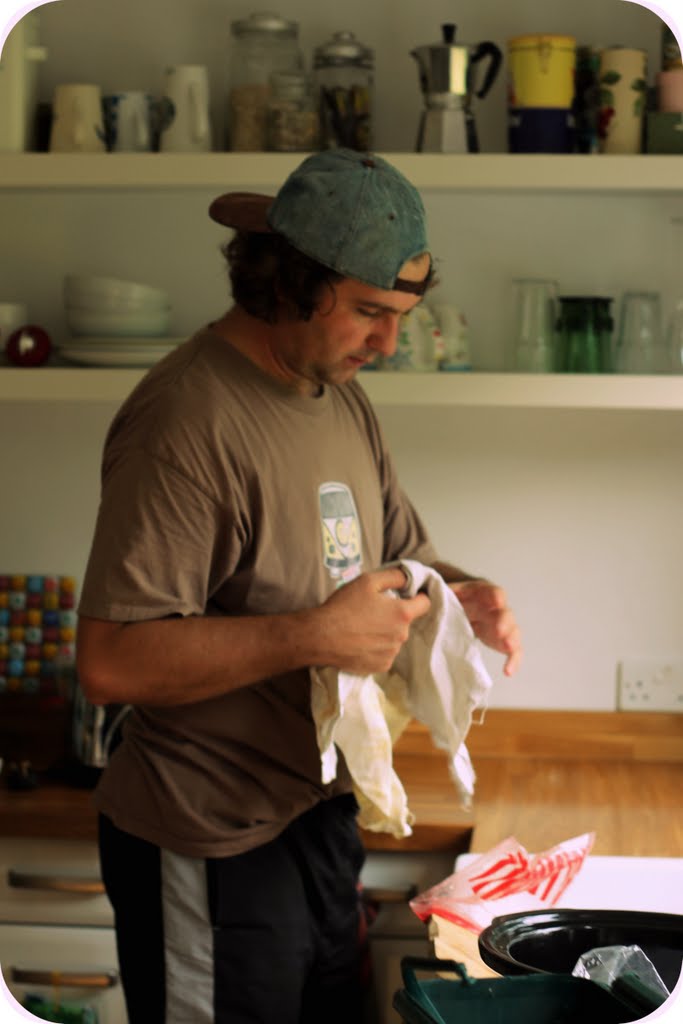
What Made Me Happy This Weekend


Driving with the windows down and the music up.


Meeting my friend Gesche's beautiful son Nicholas for the first time.


The colour of the sky on the hottest day of the year.


6 people finishing a whole loaf of cake.


Meeting my new forever hairdresser. My, was she lovely!


Matchy-matchy fingers and toes.


Finding this awesome strawberry jug abandoned by the side of the road.


Marco getting his hands dirty.


What about you?

Photobucket

© All The Live Long Day (unless otherwise stated)

Brooch Swap - What I Received


On Friday I received a special parcel. My Flower Press swap brooch had arrived! It was made by super talented quilter and knitter Kate from One Flew Over

I like its simplicity, which will go with any outfit. Whenever I wear it, it will also be a gentle reminder to start my own first quilt, something which I have been putting off because I am a bit scared of the task, to be honest.


Kate also generously included some cute fabric and a cool oversized paper clip in her mailing. Thank you very much!


You can check out what other swappers have made or received here.

Photobucket

© All The Live Long Day (unless otherwise stated)